Project Zomboid Build 42 Server Guide: Mods and Saves
Project Zomboid Build 42 is now the public stable version. At publication, the current stable build is 42.20.4, so a new Steam or SteamCMD install gets Build 42 without opting into an unstable beta. That makes this a good time to start a long-running multiplayer world, but it does not make an old Build 41 save or every Workshop mod compatible.
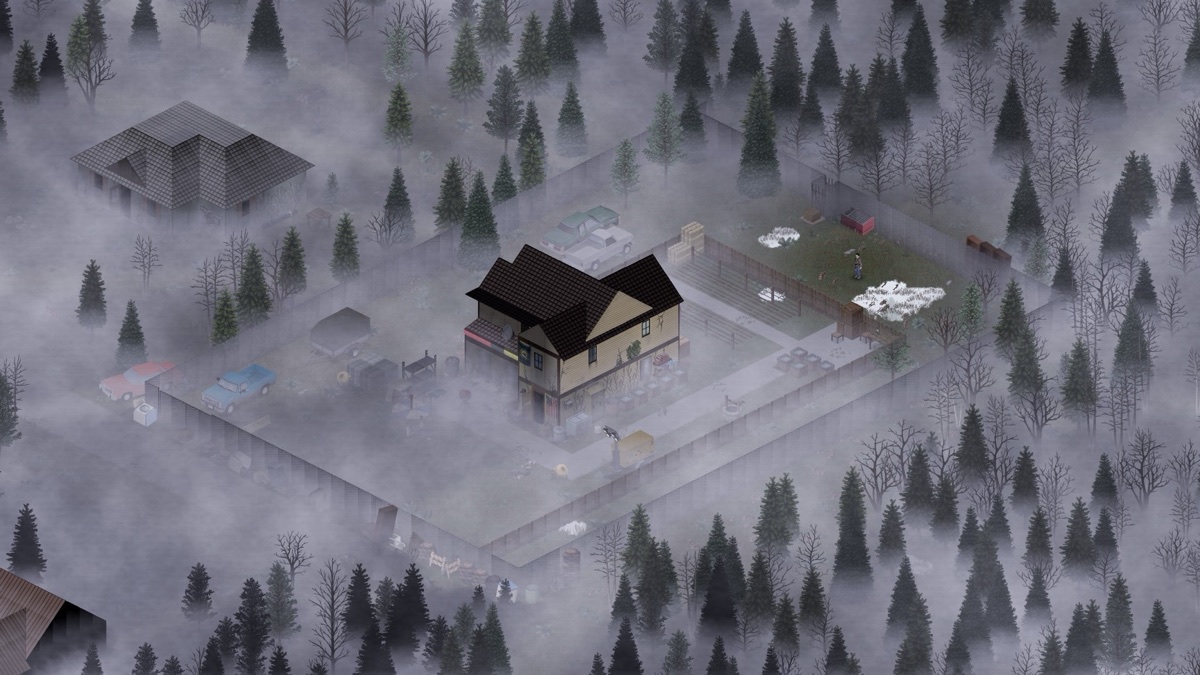 Try a Build 42 server free for 48 hours
The short Build 42 server checklist
- Back up the old server. Keep the complete Build 41 data directory somewhere the new server cannot overwrite it.
- Start a fresh Build 42 world. Build 41 savegames are not compatible with Build 42.
- Put every player on the same build. The server and all clients should use the public stable branch.
- Audit Workshop items one by one. A mod that worked on Build 41 is not automatically safe on Build 42.
- Verify both UDP ports. DefaultPort and UDPPort are separate settings. Configure RCON only if you intend to use it.
Build 41 saves do not upgrade to Build 42
The Indie Stone is explicit: Build 41 savegames are not compatible with Build 42. Do not point a Build 42 server at the only copy of a long-running Build 41 world and hope that it converts. Keep the original world, player database, configuration and mod list together as a rollback set.
If the group wants to finish its Build 41 campaign, Steam provides the official legacy41 beta branch. The server and every player must select the same branch. GHosting deliberately installs the current public stable release rather than a legacy-version matrix, so its new Project Zomboid servers are for Build 42 worlds.
If the group is ready for Build 42, create a fresh world. The map has been expanded and extensively reworked, and a clean save avoids carrying assumptions from the old world format into a new campaign.
Workshop mods need a Build 42 audit
Build 42 stable gives mod authors a less changeable target than the earlier unstable releases, but compatibility still belongs to each individual mod. Read the Workshop page, recent comments and dependencies. Look for an explicit Build 42 update rather than assuming that an old item still works because Steam can download it.
A Project Zomboid server needs both identifiers for most Workshop mods:
- WorkshopItems contains the numeric Steam Workshop item IDs that tell SteamCMD what to download.
- Mods contains the internal IDs from each mod's mod.info file that tell Project Zomboid what to load.
One Workshop item can contain several internal mod IDs. GHosting's Mods tab handles that mapping: paste the Workshop link, choose Save and restart, and the server downloads the item and derives its mod IDs. Our WorkshopItems versus Mods guide explains the manual route and the special case for map mods.
How to install a Build 42 dedicated server
The official dedicated server is Steam app 380870. A headless Linux installation can use SteamCMD anonymously. Install the public branch, launch once to create the data directory, stop it, and then edit the matching server ini before the real campaign begins.
- Install SteamCMD and run app_update 380870 validate.
- Set a dedicated data directory with the exact -cachedir=/path/to/data form. The equals sign matters.
- Choose a server name and edit that name's ini inside the active data directory.
- Lower the stock -Xmx16g Java heap to fit the machine while leaving memory for Linux and the runtime.
- Set DefaultPort and UDPPort explicitly, open both as UDP, then start the server and confirm that both sockets are listening.
The full commands, memory fix and system layout are in our Project Zomboid dedicated-server setup guide.
Ports for Build 42 multiplayer and RCON
A normal server uses DefaultPort for the game and Steam path and a separate UDPPort for RakNet traffic. The familiar defaults are UDP 16261 and 16262, but custom ports work when the ini, host firewall and router all agree.
RCON is optional and uses its own TCP port. Leave RCONPassword blank when you do not need remote administration. If you enable it, use a strong password and open only the configured RCON port. GHosting reserves the game, RakNet and RCON positions together, but keeps RCON disabled until a customer sets a password.
For a layer-by-layer check, use the Project Zomboid ports guide and our external game server port checker.
How much RAM does a Build 42 server need?
Player count, explored map cells and the mod list matter more than the version label alone. Four gigabytes is a practical starting point for a small group, while a larger group, a well-travelled world or a heavy Workshop collection needs more headroom. Do not leave the bundled 16 GB heap setting on a smaller machine.
Watch memory after real players join and after the intended mods are loaded. A server that reaches the menu with an empty world has not proved that it can sustain the group's actual campaign.
Test the real Build 42 setup before paying
A verified GHosting account can start one 48-hour Project Zomboid Survivor trial with no payment card and no automatic renewal, subject to capacity. It is the same managed server, current stable branch, Mods tab, console and file access used by paid plans.
Use those two days to add the exact Workshop collection, restart, join with several players and check the console. If the group continues during the retention window, the same Build 42 world, settings and mod list carry onto the paid term.
For the upstream compatibility rules, read The Indie Stone's official Build 42 stable plan, the official B42 checklist, and the current stable build status.