How to Host a Terraria Server (PC, Linux or Hosted)
Terraria gives you three practical ways to play with friends: Host & Play from inside the game, run the free dedicated-server program yourself, or rent a managed server. The right choice depends less on player count than on one question: should the world remain available when your own PC is off?
If everyone only plays together, Host & Play is enough. If friends should be able to build, explore and fight bosses on different schedules, use a dedicated server. This guide covers both Windows and Linux setup, including the networking details that usually cause trouble.
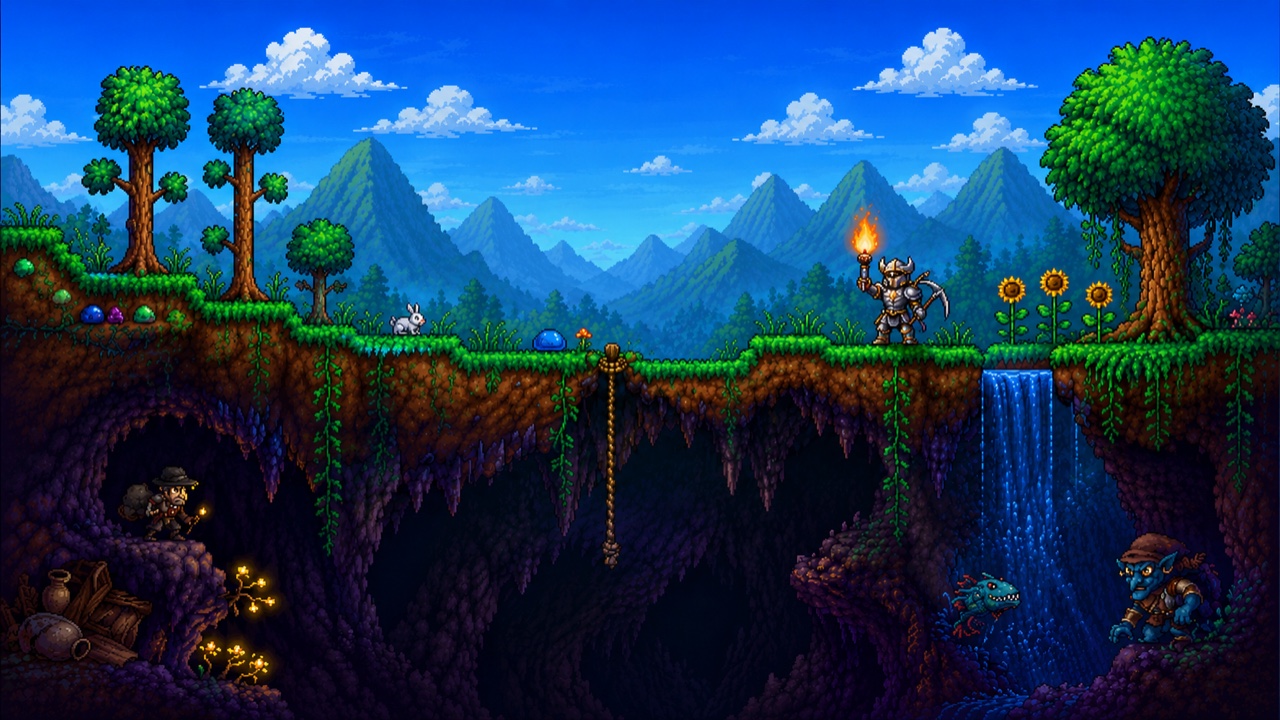
Choose how you want to host
- Host & Play: free and already built into Terraria, but the world closes when the host leaves. Best for occasional sessions.
- Self-hosted dedicated server: also free software, with a world that runs independently of the game client. You provide an always-on computer, internet connection, port forwarding, updates and backups.
- Managed Terraria hosting: the provider handles the machine, public address and process supervision. You pay monthly but avoid home-network and command-line work.
Terraria server requirements
Vanilla Terraria is light compared with most survival games. The official dedicated server documentation says a small world can start with about 500 MB of free memory, but that is a bare minimum rather than a comfortable modern host. For a private group, plan around:
- 2 GB RAM for a normal vanilla world with a small group.
- One reasonably fast CPU core. Terraria benefits more from good per-core performance than a large number of slow cores.
- Several gigabytes of free storage for the server, worlds, logs and backups.
- A stable connection with enough upload capacity for every connected player.
Large tModLoader packs are different. Content mods, generated structures and a larger group can justify 4 GB or more. Leave room rather than sizing a modded server to its idle memory use.
How to host a Terraria server on Windows
The Windows dedicated-server files are included with Terraria. In Steam, open your Library, right-click Terraria, select Manage, then Browse local files. Start TerrariaServer.exe.
The console wizard asks you to choose or create a world, set the player limit, select the listening port and optionally add a password. Terraria's default port is 7777. Once startup finishes, keep the console window open. Closing it ends the server.
For repeatable startup, copy the included serverconfig.txt example and launch the server with TerrariaServer.exe -config serverconfig.txt. A minimal configuration contains:
world=C:\Terraria\Worlds\world.wld
autocreate=2
worldname=Our World
difficulty=0
maxplayers=8
port=7777
password=choose-a-password
secure=1
Autocreate values 1, 2 and 3 create small, medium and large worlds. Difficulty values 0, 1, 2 and 3 select Classic, Expert, Master and Journey. Remove the password line if you want an open server.
How to host a Terraria server on Linux
Re-Logic publishes a standalone Linux server archive, so you do not need a graphical desktop or a second Steam account. Check the official Terraria dedicated server page for the current version and download. Player clients and the vanilla server must use matching versions.
After downloading the archive on an Ubuntu or Debian server, install unzip, extract it, enter the version's Linux directory and make the binary executable. For Terraria 1.4.5.8, the essential commands are:
sudo apt update && sudo apt install -y unzip curl
curl -fsSL https://terraria.org/api/download/pc-dedicated-server/terraria-server-1458.zip -o terraria.zip
unzip terraria.zip
cd 1458/Linux
chmod +x TerrariaServer.bin.x86_64
./TerrariaServer.bin.x86_64 -config serverconfig.txt
Create serverconfig.txt in that directory using Linux paths, for example world=/srv/terraria/worlds/world.wld. Run the process as an unprivileged user, not root. For a permanent server, create a systemd service so it starts after a reboot and restarts after a crash.
Port forwarding and firewall setup
People outside your home network cannot normally connect directly to a computer behind your router. Reserve a fixed local IP for the server, then forward Terraria's listening port from the router to that address. With the default configuration, allow TCP port 7777 through the computer's firewall and router.
Share your public IP address, not an address beginning with 192.168, 10, or 172.16 through 172.31. Friends join from Terraria using Multiplayer, Join via IP, your public address and the configured port.
If the router is configured correctly but online port checks still fail, your ISP may use carrier-grade NAT. Under CGNAT you do not control the public IPv4 address, so ordinary port forwarding cannot work. Ask the ISP for a public address, use a suitable tunnel, or move the server to a VPS or game host.
Keep the world safe
- Stop cleanly. Type exit in the server console so Terraria saves before shutting down. Do not simply kill the process.
- Back up the world. Copy the .wld file and its .bak companion while the server is stopped. Keep at least one copy on another machine.
- Update promptly. Terraria rejects clients when server and client versions differ. Download the matching server release after a game update, while preserving your world and configuration files.
- Use a password. A private group should not leave a publicly reachable server open unless that is intentional.
What changes for tModLoader?
tModLoader is a separate server build, not a switch you add to the vanilla binary. Players need matching versions and the same enabled mods. The tModLoader multiplayer documentation recommends identical mod lists and versions for everyone joining.
On a self-hosted server you must install tModLoader, place or download each .tmod file, maintain enabled.json, and update the server when Steam updates players' mods. Our tModLoader server mods guide explains the full Workshop workflow and the mistakes that prevent a modded server from starting.
When renting is the sensible option
Self-hosting is a good choice when you already have a spare machine, a public IP and the patience to maintain it. Renting makes sense when the server needs to stay online, your ISP uses CGNAT, you do not want to expose your home address, or you would rather manage worlds and settings from a browser.
GHosting supports both vanilla Terraria and tModLoader. The panel handles the dedicated-server process, settings, console and files, while tModLoader servers get a Workshop mod picker. There is no need to decide based on a sales page:
Try a real Terraria server free for 48 hoursThe trial requires a verified account but no payment card. It does not renew automatically, and availability depends on spare trial capacity. If your group keeps playing, you can continue with the same world and files instead of starting again.